Table of Content
Every time the Pi reboot, it can reconnect to the speaker, however, only when the speaker is powered off and on as well. Then follow the steps below to start Google Assistant. Switch the christmas lights on” and the Google Home speaker should send the command to ifttt. Ifttt will send the command back to your Pi and your Pi will switch on your power socket.
This JSON file authorises a device to use the Google Assistant SDK. Move this file to your Raspberry Pi’s local storage under “/home/pi”. Head to the Google Cloud Platform and select the option to create a new project. A project to build a Google Home device using a Raspberry Pi has been described by Jamie McKane. This GassistPi project can also helps you to automate your house. Now, navigate to the folder containing the hotword.py script.
Step 4: HEADLESS AUTOSTART on BOOT SERVICE SETUP
Use the google-auth-oauthlib with the credential JSON file downloaded earlier to authenticate your Raspberry Pi. That is everything needed to get up and running. If any of the installations fail, check the spelling and spacing thoroughly. When you've entered your version of the above code, press Ctrl + X to save and exit. HDMI and other output sources will also work, though it will require modifications to the sound setup below. This app is hit or miss on whether it will work properly.

And Thread helps extend the overall strength, capability, and reach of your smart home. The totally redesigned app has a new five-tab layout that’s easier to navigate. Pin your favorite devices to your home view to see multiple camera live streams right when you open the app.
Control your Matter devices with Google Home.
Though you can control your switch locally, you can’t do it outside your LAN. Alternatively, if you don’t have a keyboard, mouse and a display, check out this headless setup. Radio streaming has been enabled for both OK-Google and Custom hotwords/wakewords. Default keywords for playing RSS feeds is feed or news or quote.
Select Google Assistant and choose Say a phrase with a text ingredient. Sudo apt-get install mini-httpd sudo nano /etc/default/mini-httpd Now set set the START parameter in there to 1. You’ll also need to route web traffic from a fixed URL to your Pi.
Creating the Google Project
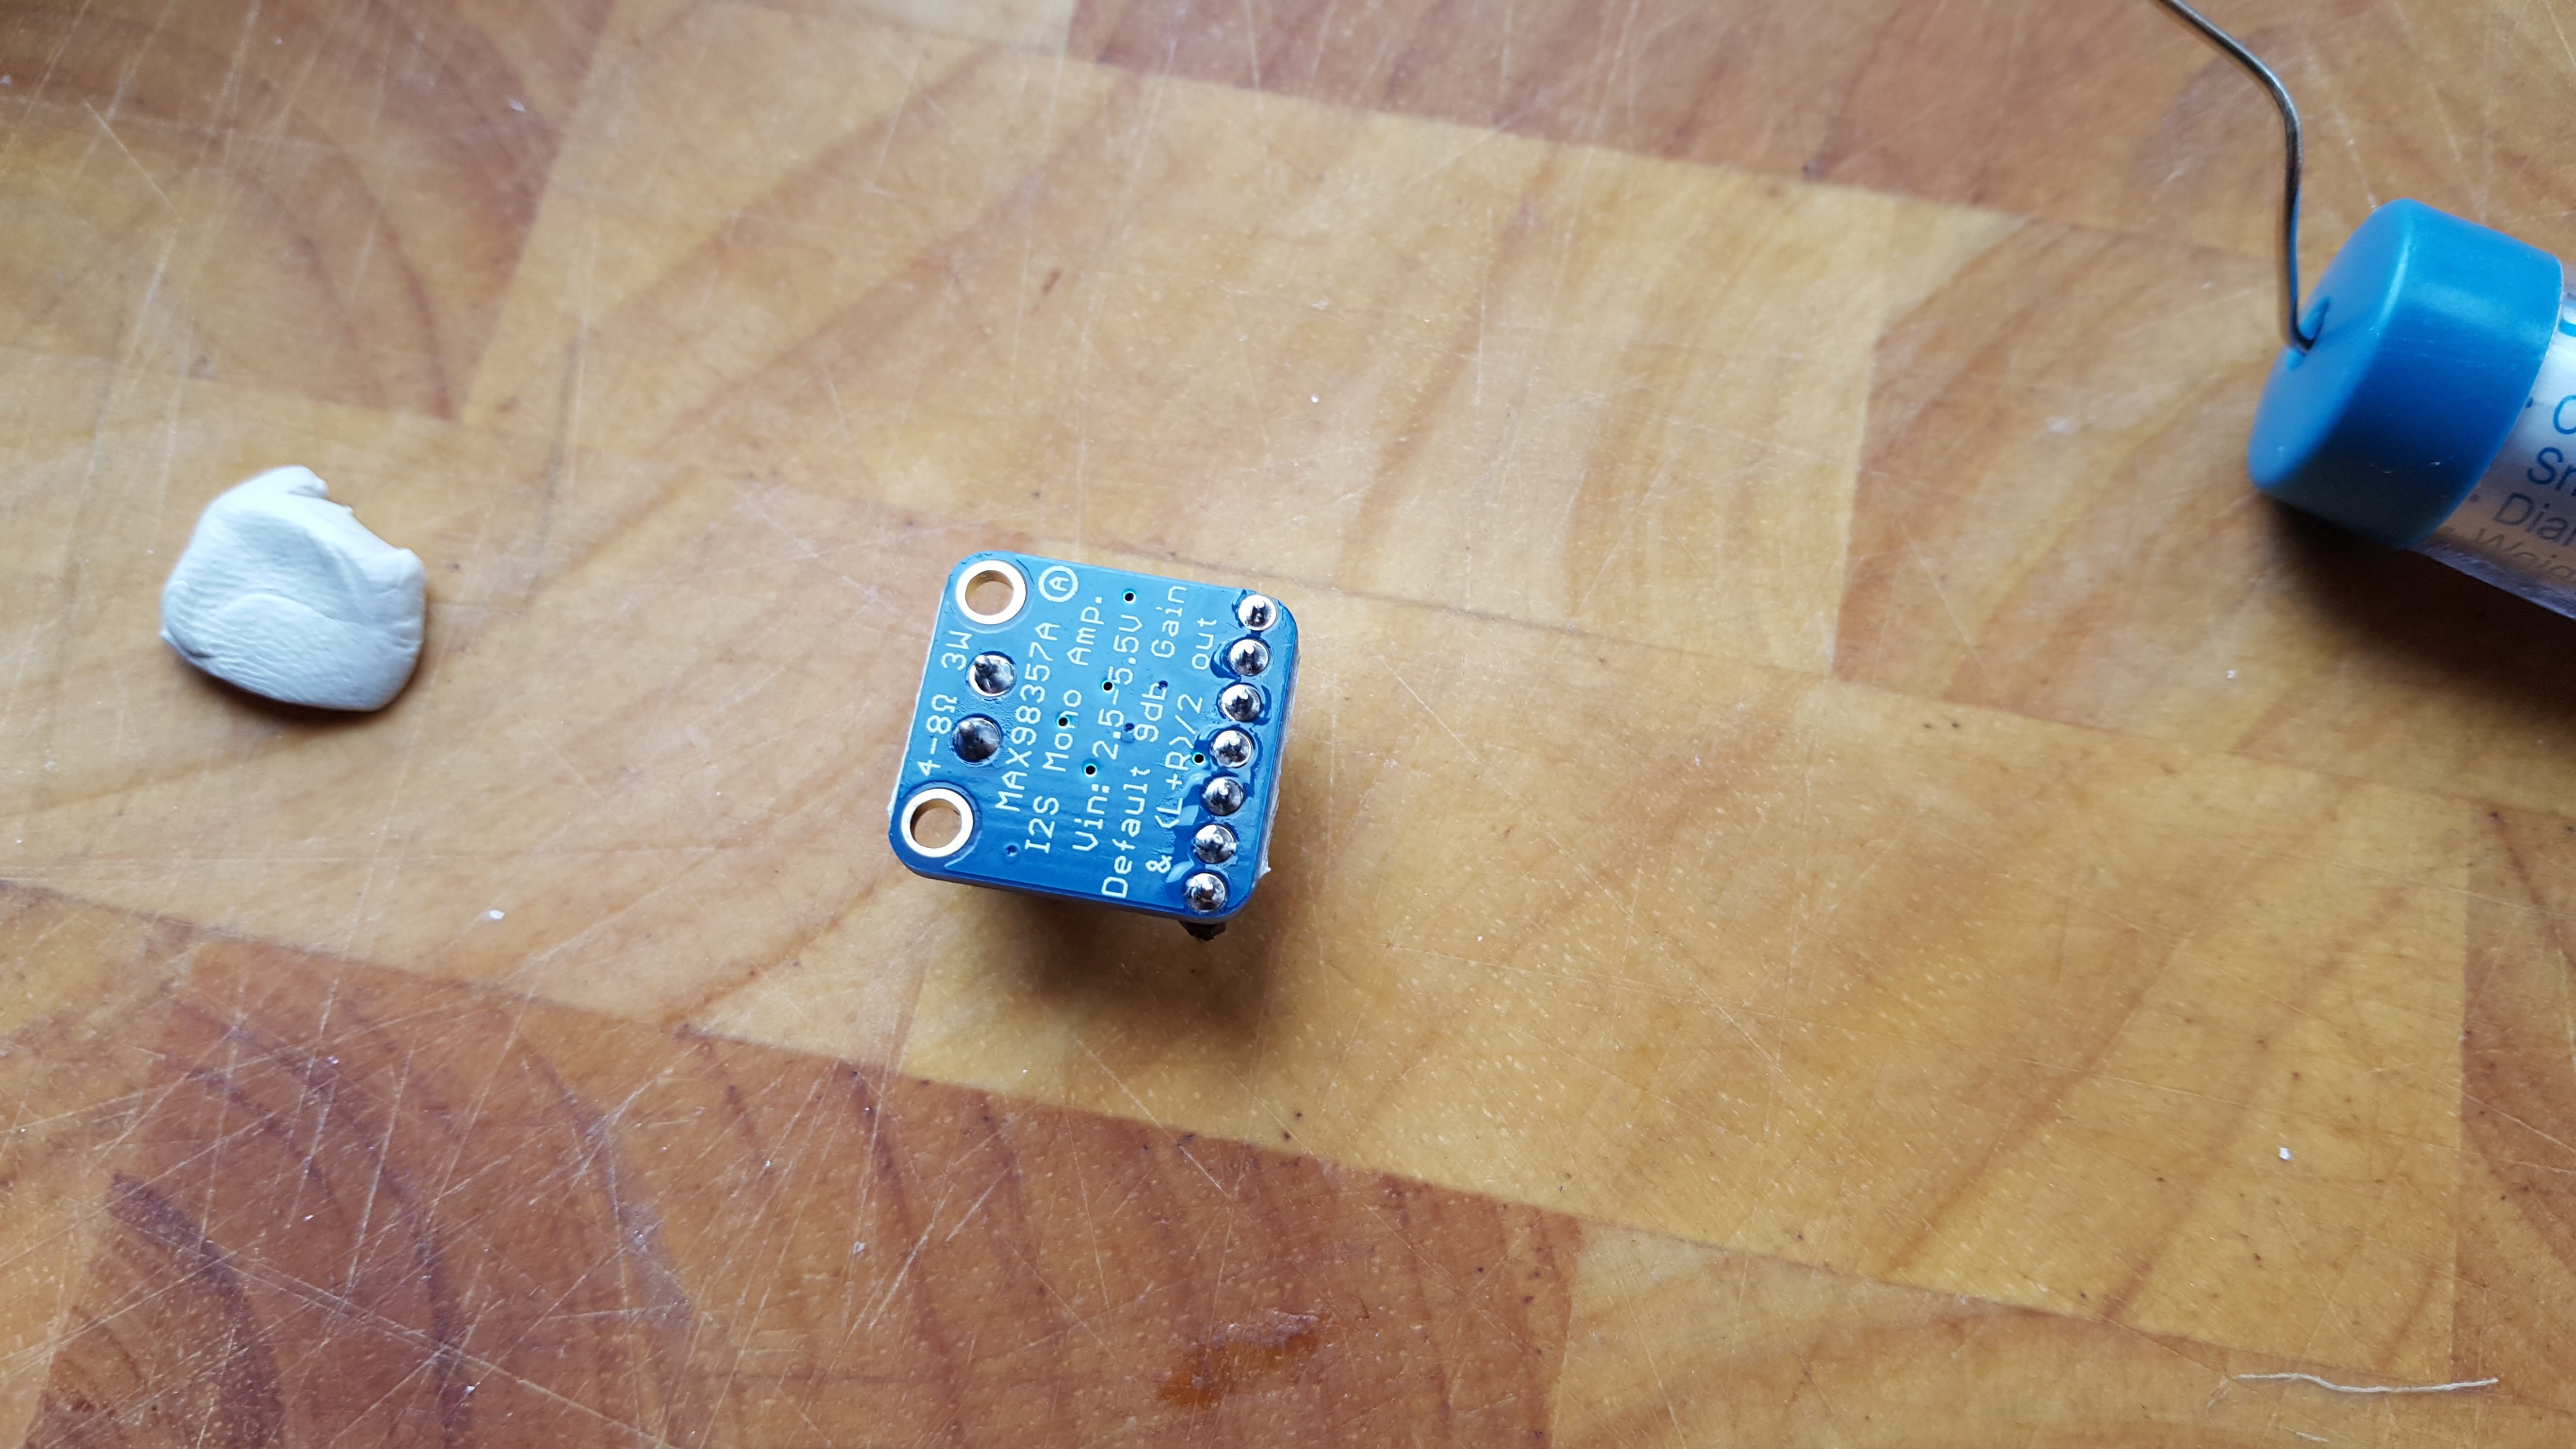
To do so, we need to connect our Prota features to IFTTT applets through automation storylines on the Stories app of your Prota Pi. The last step is to connect the configured antenna with the RF socket. Keep in mind that the required length of your antenna will depend on the frequency of your RF socket. You need to solder the RF transceiver and home-made antenna together. Make sure the soldering connects the antenna to the ANT port on the RF transceiver. Plug in an ethernet cable or connect to a Wi-Fi network using the command line.
Google Assistant has some dependencies which you should install into the virtual environment now. Google recommends working in a Python virtual environment. Open the Pi's browser, alternatively, if you are connected via SSH open a browser locally. Navigate to the Google Action Console and click New Project. This tutorial can be followed directly on the Pi or via an SSH connection into the Pi.
"From the API and services" option, select library and in the search bar type youtube, select "YouTube Data API v3" API and click on "ENABLE". Move your mouse pointer over "API and services" and choose "credentials". First, add the IP-Address of your Chromecast in the actions.py script, in the indicated location. If you wish to change the keyword, you can replace the 'servo' in the action.py script with your desired keyword for the motor.

As it turns out, the Geeni app is working just fine and all the devices can be controlled from there. My existing IFTTT commands through the maker channel are still working, but they've changed the naming structure since I made this guide. New commands still use the Google Assistant trigger, but the web requests are now handled by the "Webhooks" action.
If you are into smart home products, you must have heard about Geeni. Used by millions worldwide and featuring a user-friendly app, the company offers affordable products that can be used without a hardware hub or subscription. There are plenty of ways you could make that work! I wanted mine to use a website or use voice control, but you could definitely find some way to get a button to trigger IFTTT.
Why build Help users find answers and get things done with Google Assistant. My fascination with technology and computers goes back to the days of Windows XP. Since then, I have been tinkering with OS, mobile phones, and other things. When I am not working on anything, you will find me enjoying video games on some Discord server.
Check in on your home anytime and see a recap of recent events. You can also get a notification if something important happens while you’re away. Easily check your live camera streams and video history with the new timeline or dedicated events view. Customize your devices to do what you want, when you want, with new automations in the Google Home app.

You can run your modified script passing your model-id number as an argument. Back in the Action Console, select Device registration from the left panel. Under Product create an easy to remember name for your device. The manufacturer name isn't important , and select Auto for the device type. The contents of this directory will differ depending on what card and device numbers you are using. This is where you can choose to favor HDMI output rather than 3.5mm if you wish.


No comments:
Post a Comment